Button Image#

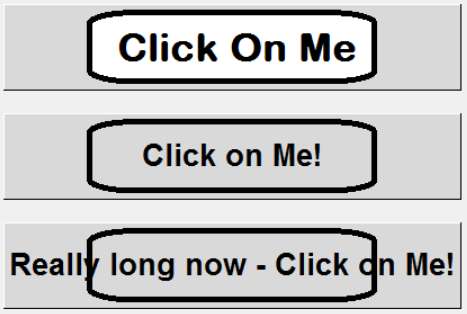
First off we shall load just an image onto a button and see what happens when we pass the cursor over it, and press the button. Load up 04button_image.py

../_images/04button_image.jpg

Script 04button_image.py#

Show/Hide Code 04button_image.py

'''
Image on Button

Use png image files, if running tkinter 8.6 or more, this will run - if using tkinter 8.5 then we  need to use
PIL open the images with PIL.Image then load this with ImageTk.PhotoImage into the Button widget.

The image needs to be referred to if the handle is a local variable, otherwise use a class variable (prefixed with self)
'''
from tkinter import Tk, PhotoImage, Frame
from tkinter.ttk import Button, Style
#from PIL import Image, ImageTk ## uncomment if you are running tkinter 8.5
# if tkinter 8.6 or greater PIL no longer needed

class Example:
    def __init__(self, master):
        fr = Frame(master) 
        master.title('Button Test')
        fr.grid(column=0, row=0, sticky=('nsew'))
        ## uncomment following 4 lines if you are running tkinter 8.5
        # im1 =  = Image.open('../images/butImage.png') ##
        # im2 = Image.open('../images/butImageTrans.png') ##
        # self.buttonPhoto = ImageTk.PhotoImage(im1)  ##
        # buttonPhotoTrans = ImageTk.PhotoImage(im2)  ##
        
        ## comment out following 2 lines if you are running tkinter 8.5
        self.buttonPhoto = PhotoImage(file='../images/butImage.png') ##
        buttonPhotoTrans = PhotoImage(file='../images/butImageTrans.png') ## 
        '''
        we are using both a local and a variable prefixed with self
        '''
        but = Button(master, image=self.buttonPhoto)
        #but.image = self.buttonPhoto - not needed because using self
        but.grid(column=0, row=0, sticky=('ew'), padx=10, pady=10)
        myButton = Button(master, compound='center', text='Click on Me!',
                         style='new.TButton', image=buttonPhotoTrans) 
        myButton.image = buttonPhotoTrans # keep a reference as local variable!
        myButton.grid(column=0, row=1, sticky=('ew'), padx=10, pady=10)
        myButton2 = Button(master, compound='center', 
                           text='Really long now - Click on Me!',
                         style='new.TButton', image=buttonPhotoTrans) 
        myButton2.image = buttonPhotoTrans # keep a reference as local variable!
        myButton2.grid(column=0, row=2, sticky=('ew'), padx=10, pady=10)

if __name__ == "__main__":
    root = Tk()
    s=Style()
    s.theme_use('default') # ensure all see the same
    # produce a large heavy text, 
    s.configure('new.TButton',font='Helvetica 20 bold') 
    # button font does not work in tkinter 8.6
    example = Example(root)
    root.mainloop()

Using 04button_image.py you should see three buttons, the top one with just an image, the second uses the same image with the centre made transparent - this looks quite promising - until we see the third button and its text.

As it stands it is obvious that the image property option is not always useful, since it does not change dynamically with the widget. Where a widget can work with a single sized widget, as in a pictogram, then this option is valid.

Loading Images#

# with tkinter 8.6:

self.buttonPhoto = PhotoImage(file='../images/butImage.png')
buttonPhotoTrans = PhotoImage(file='../images/butImageTrans.png')

# with tkinter 8.5:

from PIL import Image, ImageTk
im1 = Image.open('../images/butImage.png')
^^^
im2 = Image.open('../images/butImageTrans.png')
self.buttonPhoto = ImageTk.PhotoImage(im1)
                                      ^^^
buttonPhotoTrans = ImageTk.PhotoImage(im2)

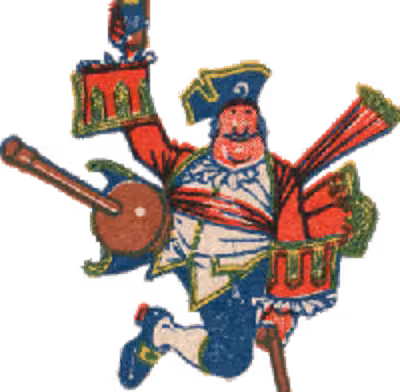
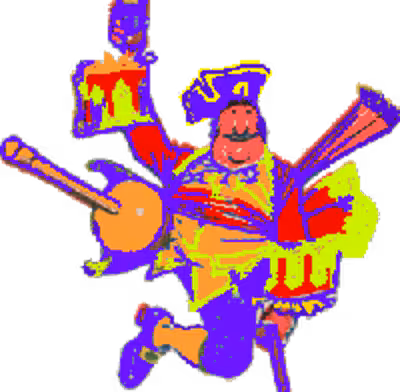
The images butImage.png and butImageTrans.png are referenced to the images file. The image is loaded into PhotoImage, where a reference is required which will be used within the widget's property option "image".

Warning

If images are used within a class there is always the problem that garbage collection will dispose of the image and it will not show unless special precautions are taken.

When the image is a local variable, reload the image directly after referencing it with the widget, alternatively in class ensure that the image variable is prefixed by self, (compare how the two images self.buttonPhoto and buttonPhotoTrans are treated).

Button Pictograms#

If multiple pictograms are available we can change these according to state. Check out the example 04button_pictograms.py.

../_images/04button_pictogram.jpg

Script 04button_pictograms.py#

Show/Hide Code 04button_pictograms.py

 1"""
 2Button with pictograms
 3
 4use the mouse and press the button
 5creates second command window, could be to to with PhotoImage
 6"""
 7
 8from tkinter import PhotoImage,Tk
 9from tkinter.ttk import Style, Button,Frame, Label
10
11root = Tk()
12s=Style()
13s.theme_use('default')
14
15# using alternative cross reference 'im1'
16image1=PhotoImage('im1',file='../images/close.gif')
17image2=PhotoImage(file='../images/close_active.gif')
18image3=PhotoImage(file='../images/close_pressed.gif')
19fr = Frame()
20fr.pack()
21lab = Label(fr,text="Dont't forget to click and hover")
22lab.pack(padx=4, pady=10)
23# using alternative cross reference 'im1'
24but = Button(fr,text='test',compound='right',image=('im1',
25             'pressed', image2,'active', image3))
26but.image=('im1', 'pressed', image2,'active', image3)
27but.pack(padx=4, pady=10)
28
29root.mainloop()

Look at lines 18-19, this has three pictograms linked to 3 states which must have the active state listed last, just as we needed to do in the mapping situation. We can load the pictogram image and text simultaneously by using the "compound" property option. When using the image property always ensure that the first state remains anonymous, corresponding to the normal state.

Warning

Be careful when referencing the image in the image property im1 = PhotoImage("ref1", file='myimage.gif') We can use "ref1" as our image reference or im1 (unquoted).