

Frame#
The first example is probably best run as a standalone style for frame. The idea is copied from a website canvas image that demonstrated how to use the tkinter canvas to contain the background image and some other widgets together with a matplotlib interface. This works but the geometry management is limited to the canvas system. If we use frame as our parent widget all the normal geometry managers - grid, pack and place - can be used. The only minor problem is that it works best with a full view of the background image. Use the example 07frame_background_image.py
Frame with Background#
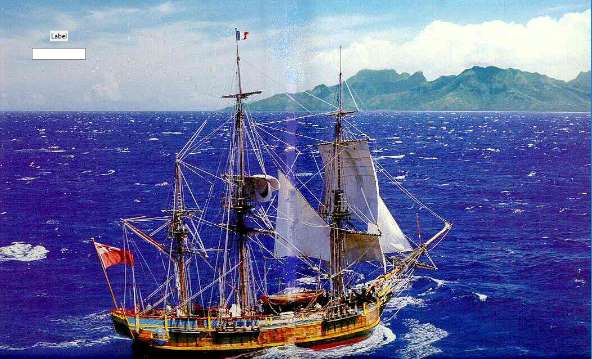
to see what I mean, use a jpg image of your choice as backdrop, typically a panoramic view. Since these may be downloaded from many digital cameras and are usually half the size of a png or gif of equivalent size.
Show/Hide Code 07frame_background_image.py
'''
Frame with Image

replace the image with your own image, if the screen size
is large enough, about 1000 wide by 350 high.
'''

from tkinter import Tk, PhotoImage
from tkinter.ttk import Frame, Style, Label, Entry
from PIL import Image, ImageTk

root = Tk()
s = Style()

im = Image.open('../images/BountyMoorea.jpg') # change to your own file
tkim = ImageTk.PhotoImage(im)
width,height = im.size

s.element_create("ship", "image", tkim)
s.layout("ship", [("ship", {"sticky": "nsew"})])

fr=Frame(root, style="ship", height=height,width=width)
fr.grid(column=0, row=1, sticky='nsew')

il = Label(fr, text= 'Enter your text below')
il.place(relx=0.1, rely=0.1, anchor='center') # using place to position widget

en = Entry(fr, width=15)
en.place(relx=0.1, rely=0.15, anchor='center')

root.mainloop()